WSJT-X Dark Mode (How to guide)
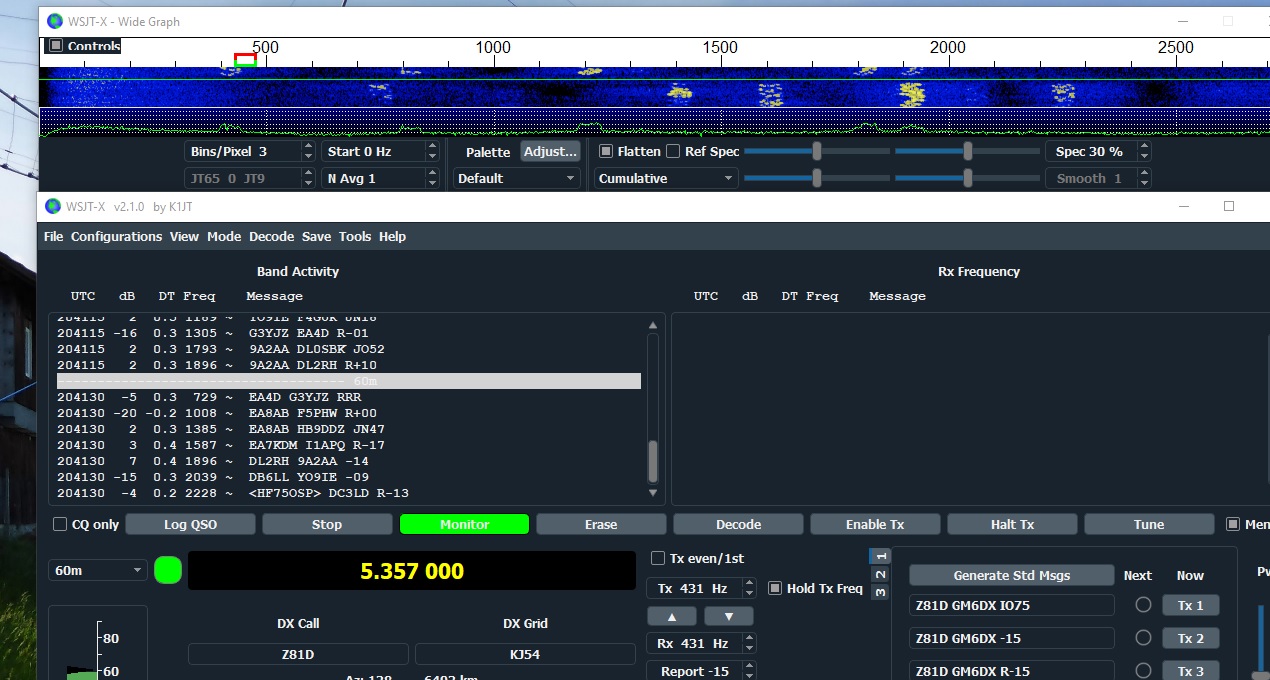
Your right WSJT-X can hurt your eyes because of the white glare from the screen. Well this guide will show you how to turn WSJT-X into dark mode.
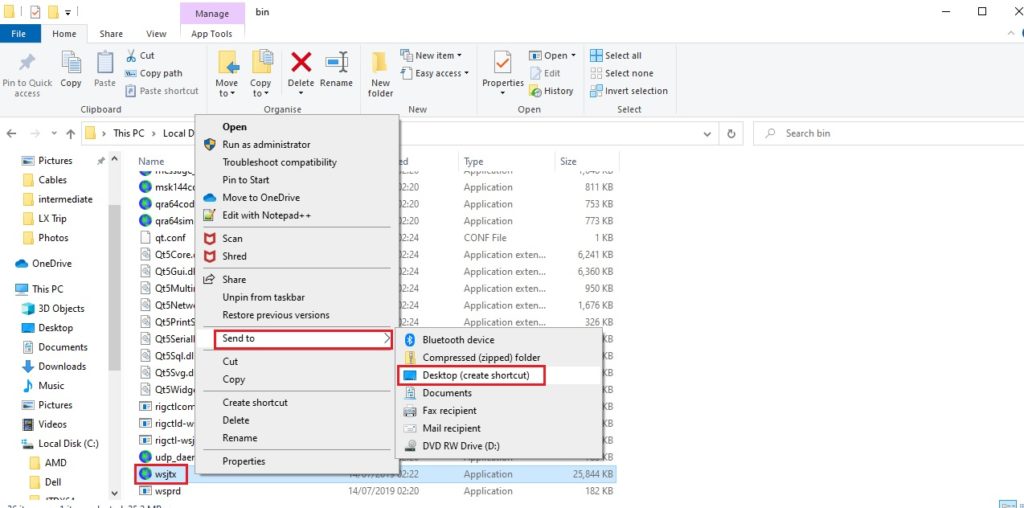
Step one – create a new short cut from the WSJT-X.exe file to your desktop. You will find this in the C: drive or what ever letter your hard drive is.
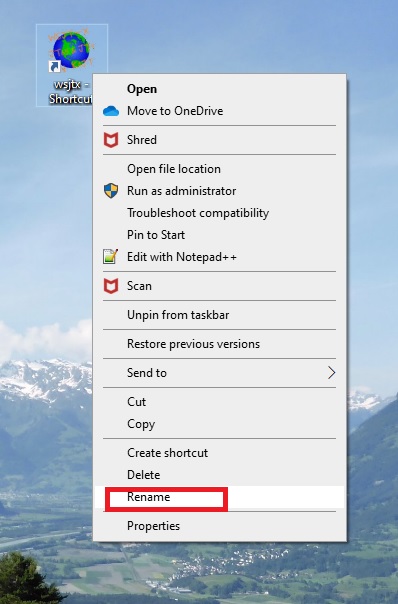
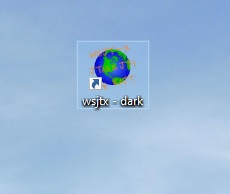
Step two – rename your short cut to something you will known that it is the dark mode version, I called mine “WSJT-X – DARK”
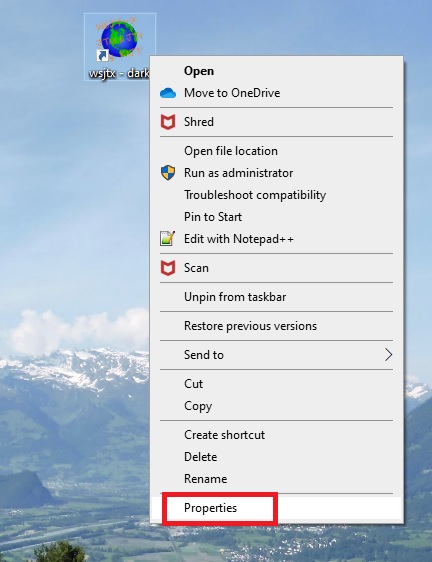
Step three – Right click on the short cut and select properties.
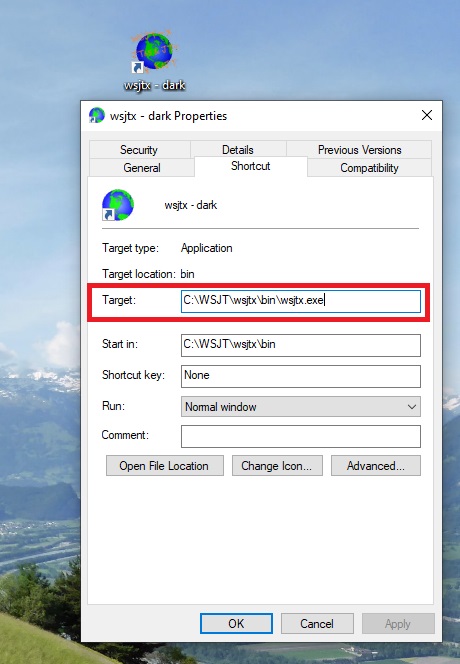
Step four -click in the target section
Step five – after the wsjtx.exe add the following
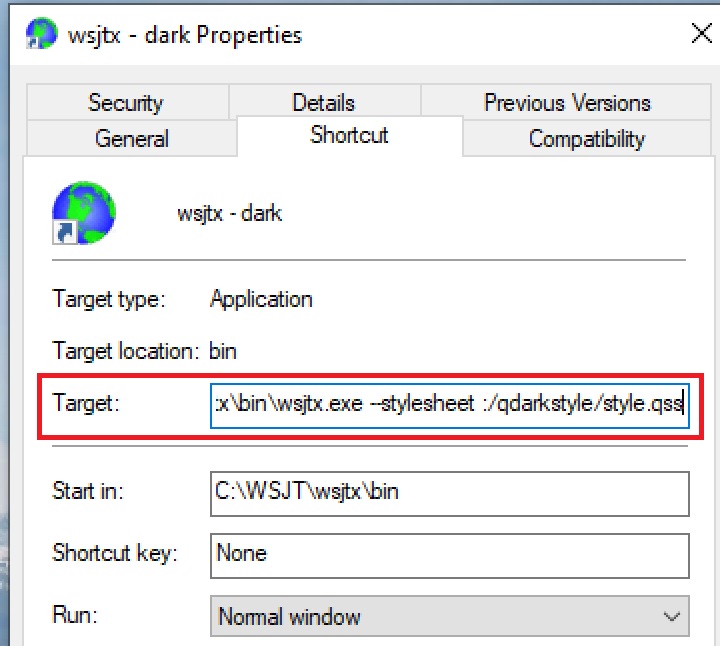
–stylesheet :/qdarkstyle/style.qss
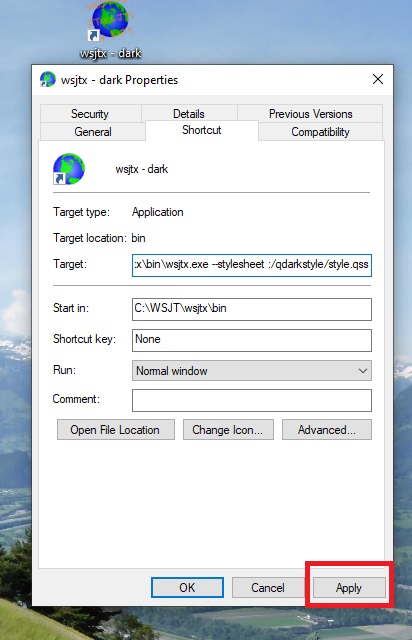
Step six – click apply then OK.
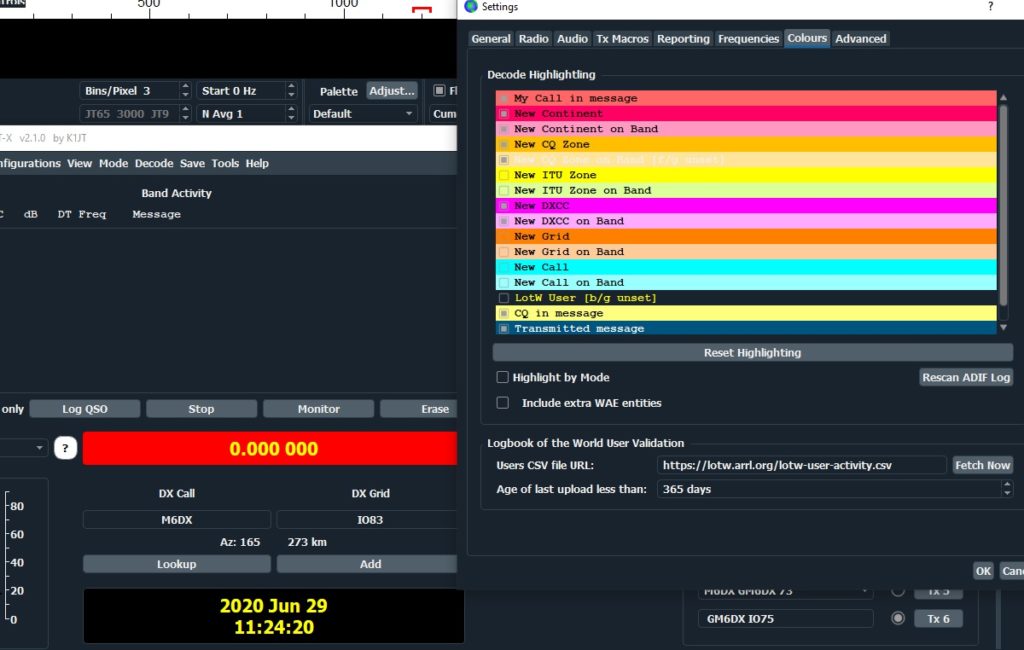
Step seven – click on your new short cut and open up WSJT-X – remember to change the colours to suit your own needs inside the wsjt-x program.
Any questions…don’t ask 😉